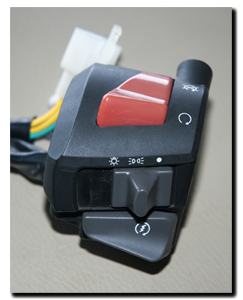
Upgrading the 03-08 ‘LPO’ (Lights Permanently On) Caponord with the 01-02 light switch assy.
 Changing over the right hand switch assy completely can be a time consuming task …. or take less than 1 hour with a quick work-around. Basically, the throttle cables are threaded into the upper part of the switch module, removing them would require stripping out of the Seat/tank/airbox and then the cables removing from the throttle bodies.
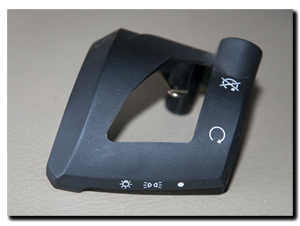
Or, you can simply use your old upper (minus the lights position graphics at the front) and swap just the lower, with the new switch and loom. Frankly, I like to take the path of least resistance!
The swap is fairly straight forward if you do it in two steps, first the switch unit, then the loom and connectors. Althought the older loom contains more wires, it’s an easy job routing it into place and of course the end connectors are identical.
If you have a standard bike – or use none-Aprilia heated grips, this is the end of the job. for those using the Aprila kit ….. there’s one more step! Why?
Turn the lights off and try to operate the indictors/hazards ……… nothing happens!!!
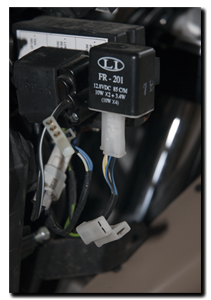
Basically, when the grip-kit is fitted a new mini-loom gets plugged in and the old indicator  relay replaced and plugged into the new loom. In the standard setup, the indicators are powered from a switched-12v rail …. on the new setup, they are powered from the side-light circuit. And that’s the problem.
Thankfully, the fix is easy … so easy it involves no cutting or splicing of wires. All you need to do is:-
Click on the image opposite for a larger picture highlighting the two wires to swap.
- Remove the grey/green wire from the plug already connected to the relay.
- Remove the green wire from the old relay plug.
- Swap the wires over into the other socket and refit the plugs. Job done!
Button everything back in place and you’re done …. now you have complete control over when you have those two 55w battery-busters burning away … and let’s be honest, the battery is going to love you for it everytime you punch the starter button! And as for swapping over the ‘decaled’ switch unit upper body … that’ll wait until the next major service, when the valves are done.
