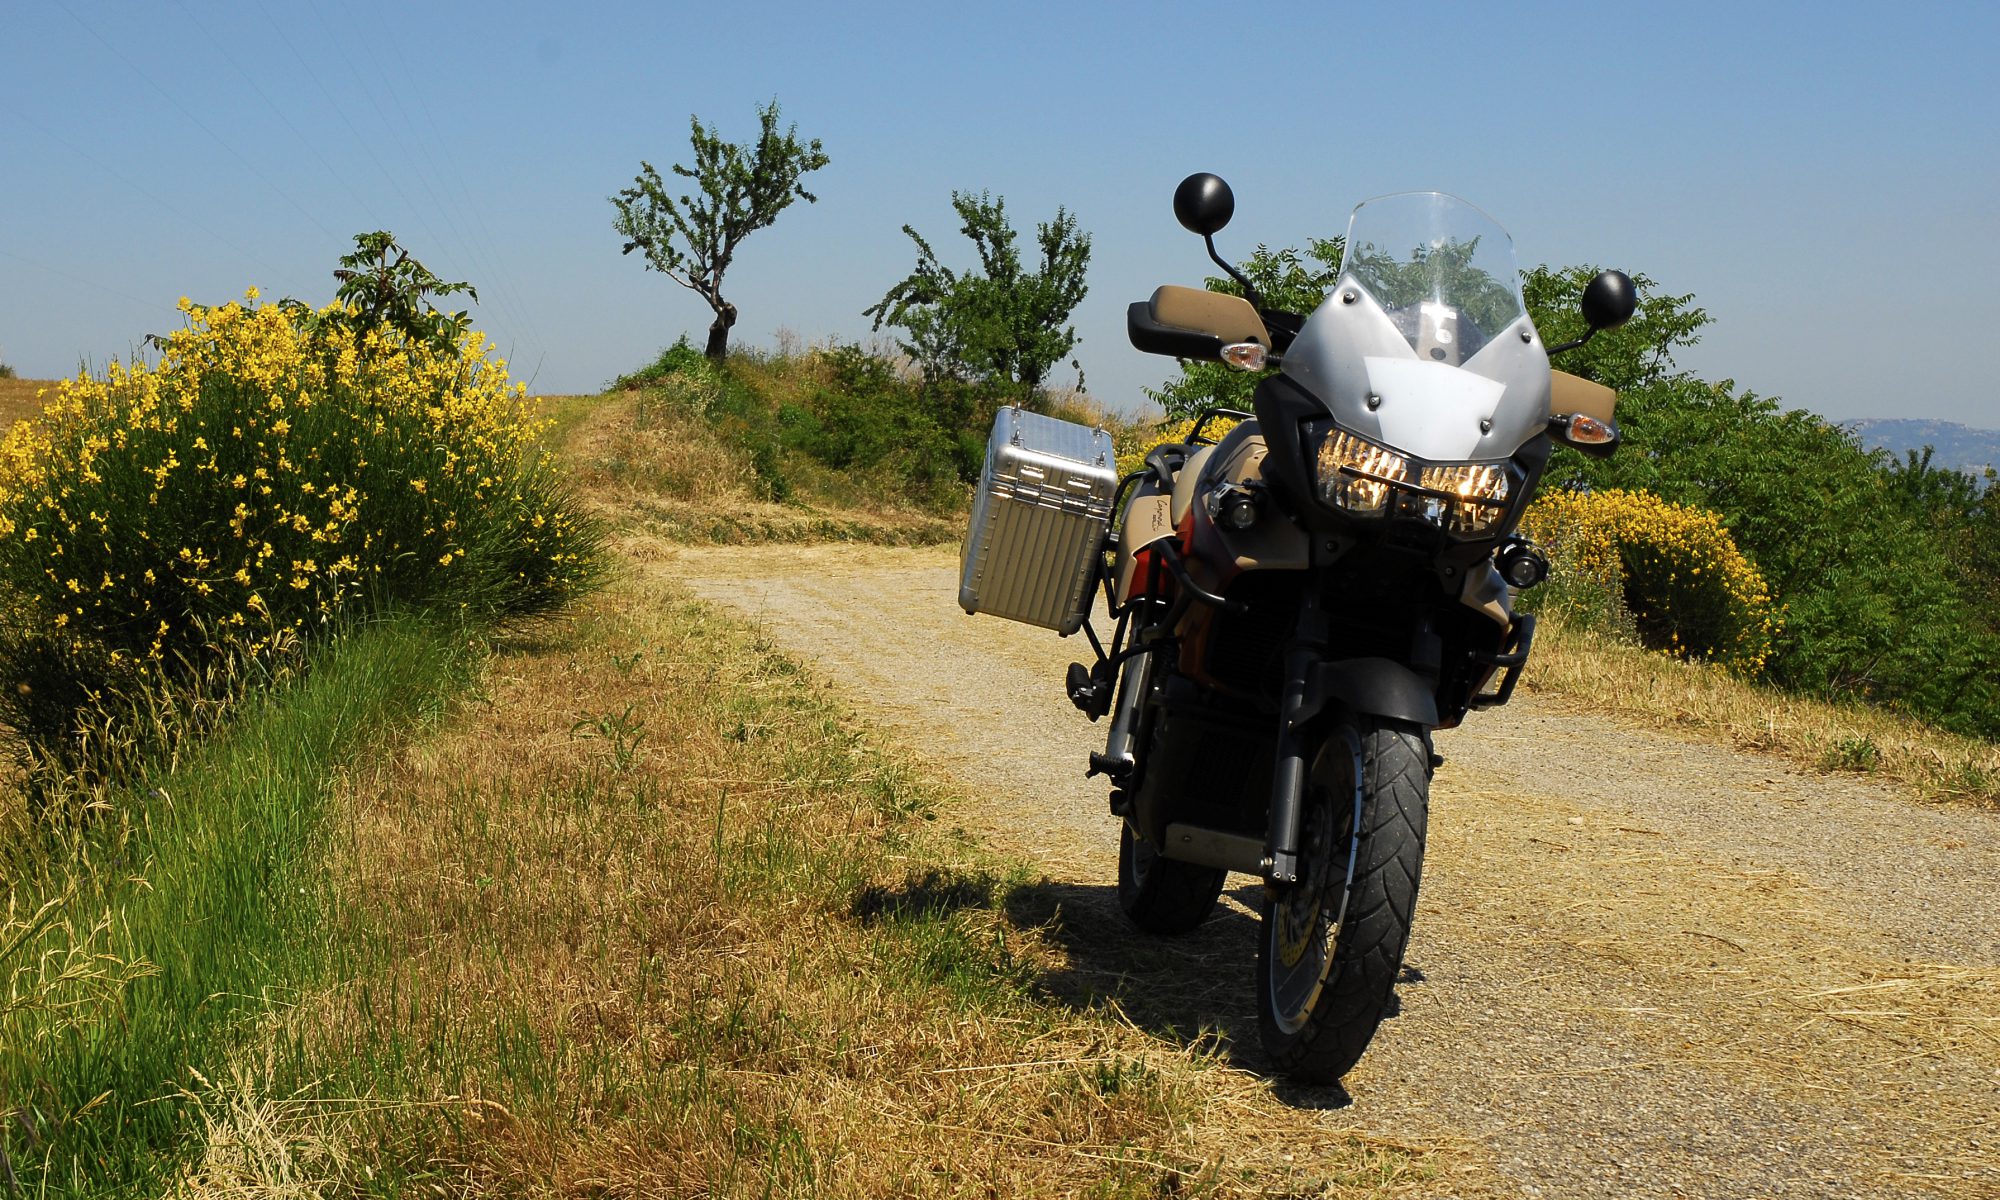
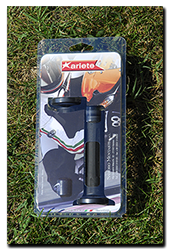
 Today I finally changed over the old worn out Aprilia heated grip rubbers for new Ariete 02624/L ones. These are sold for the BMW heated grips and are not a straight swap onto the Aprilia, however the work needed isn’t difficult. Just take your time and be very careful with the knife!
The heated elements themselves are stuck onto the plastic formers and rated at 13w @ 12v each. So at 13.8-14.2v that’s a draw of around 30w on ‘High’ and 15w on ‘Low’ and although they are pretty good, I’d still like a bit more heat out of my grips for fast motorway work in winter ……. I think an upgrade may be in the pipeline! Until then, here’s the low down on changing over the grips …. a nice straightforward job that takes about 1-1½hrs.
Tools needed
- 4 & 5mm Allen (Hex) keys for the Aprilia hand guards (if fitted)
- Sharp craft knife
- Dremel with suitable grinding disc
- Can of hairspray.
Left grip – (30-45mins)
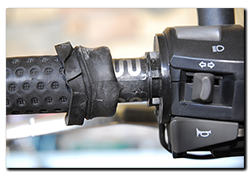 Remove the hand-guard if fitted, then peel back the old grip. I used a little light-oil on the outside to help the grip slide back over itself. You can see from the photograph that the grip is glued to the tube only on the strip where the heater element doesn’t cover.
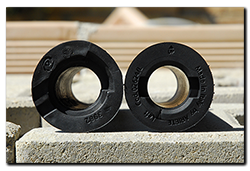 The edge of the plastic grip former where the heater element wiring connects has a diameter of 33mm and a depth of 6mm. So the new grip has to be modified by removing excess material to fit over this properly. (click on picture)
Slide the new grip into place. I used the old ‘hairspray’ method to lubricate the former and the grip. If you’ve removed the correct amount of material the grip will sit snug against the end of the former and look like Aprilia fitted it!
Refit the hand-guard and have a cold beer before tackling the throttle side!
Right (throttle) grip – (30-45mins)
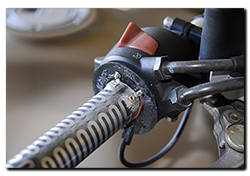 Exactly the same as above except this time the grip is also glued to the plastic former at the end, and so take a little more care when removing it or you could damage or cut the wires below.
Once off, clear any excess rubber and adhesive off the former and again, remove material from the grip in relation to the position of the two wire joints and the tie-wrapped connection at the bottom of the grip.
If the right amount of material has been removed, the grip will fit perfectly. I then used a little adhesive to reattach the grip to the plastic former.
Conclusion
€30 well spent I think. The work is a little fiddly and you have to be careful wielding a sharp knife around, but overall a 1 – 1 ½hr job that has given the cockpit a new crisp look and hopefully will last several years.
Oh and I have to say, the pong of hairspray gave me the heebie-geebies as I kept thinking my old grannies ghost had wandered into the barn!
Probably the most simple upgrade would be to search out an alternative glue-on element of a higher output and simply swap them over. However a more ambitious upgrade would be to remove the old element from the grip and have a channel approx. 0.5mm deep with 24 turns cut into the plastic. Then wind a length (approx. 1.86m) or resistive wire around the grip and solder onto the terminals.
Using Nichrome 24wg (4.56Ω/metre) wire should give a resistance of approx. 8.5Ω and that equates to a 50% increase in output over the old element. You could of course opt for 26wg wire instead, with a higher resistance per meter and cut fewer (but deeper) turns into the plastic former. Experiment time!!!
