Hybrid velocity stacks

Aprilia Caponord ETV1000 Rally-Raid 47mm and hybrid 51mm velocity stacks
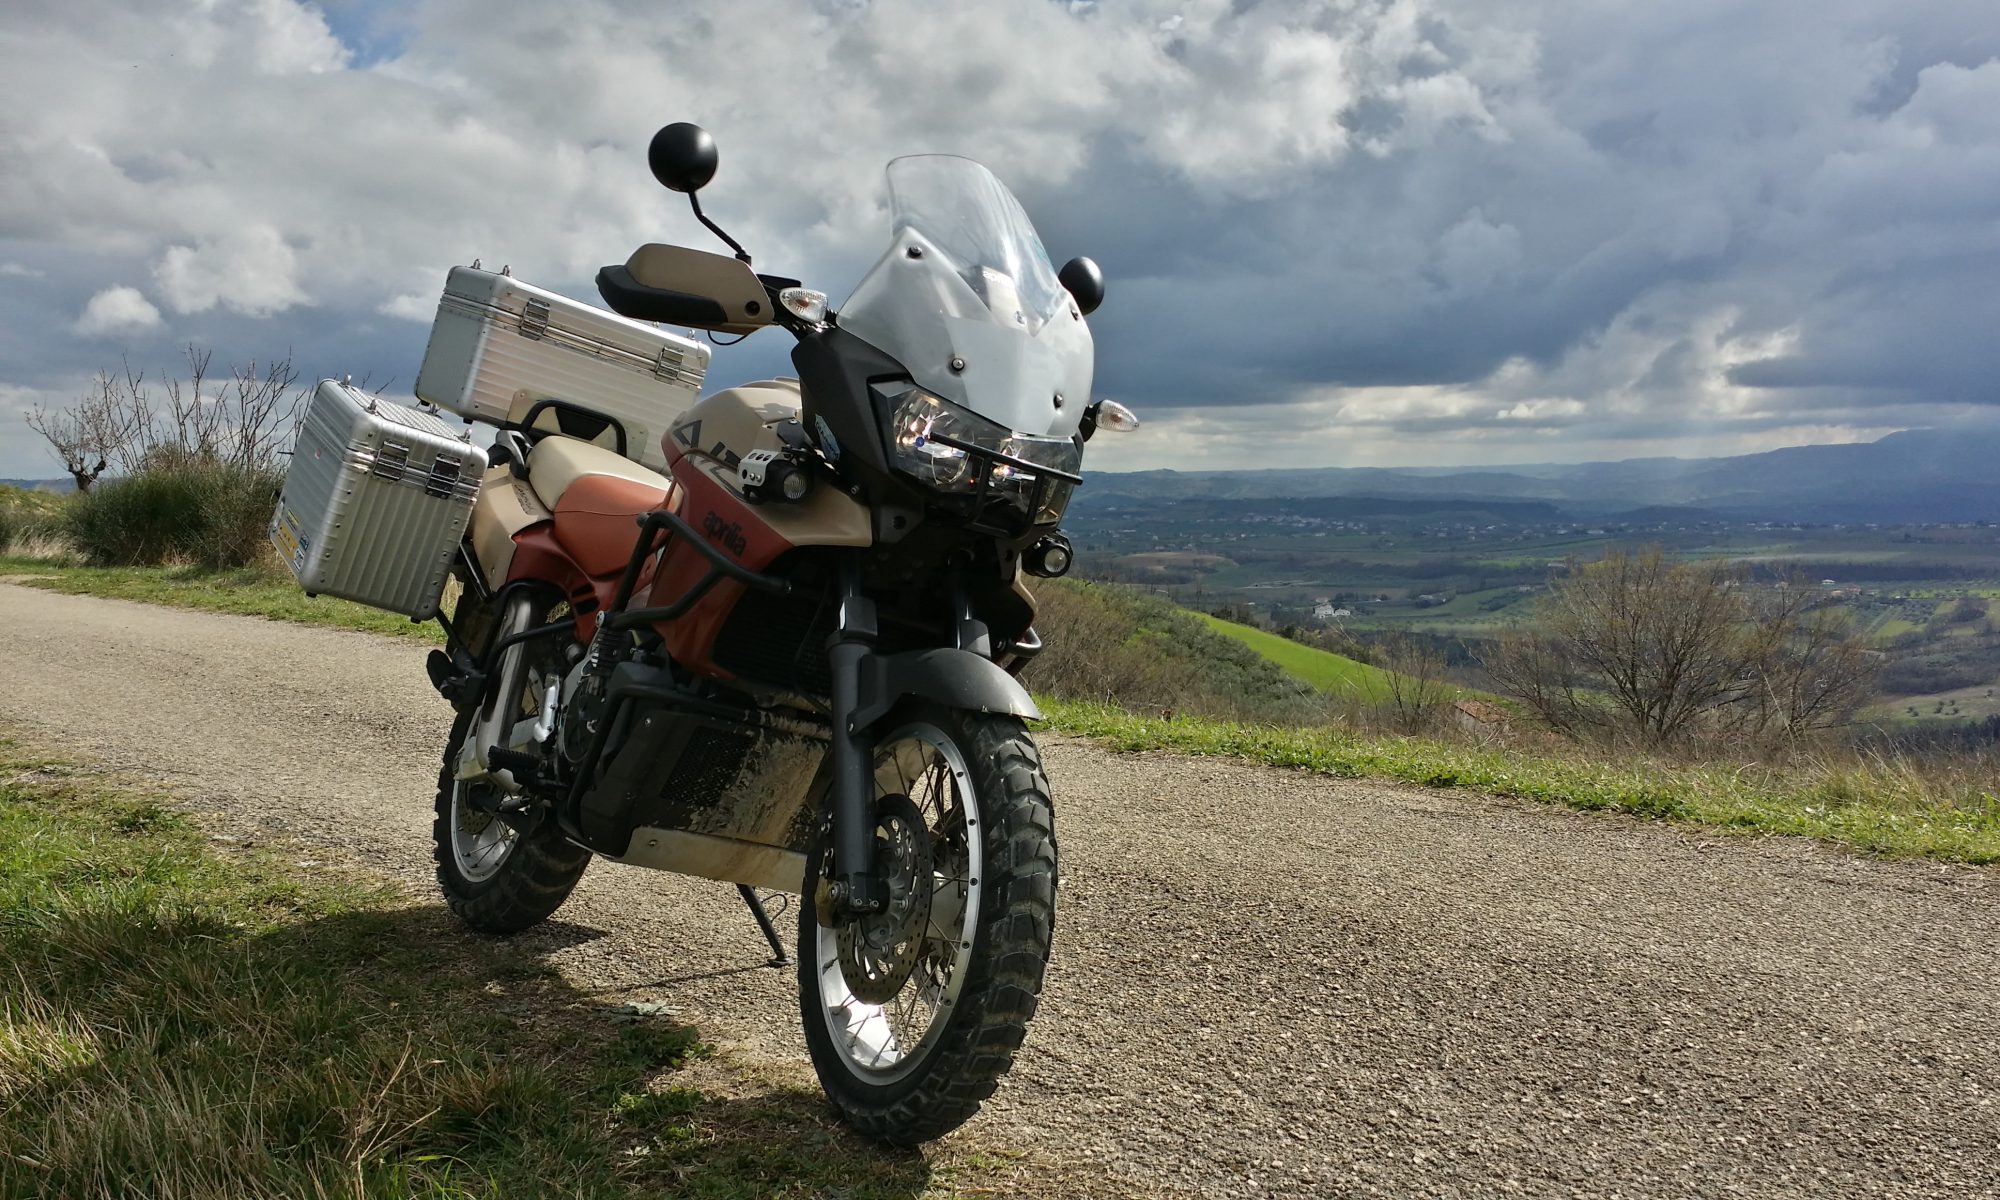
If all goes to plan, later this year the second Rally-Raid that’s currently being rebuilt, will finally get a motor installed. The plan is to use a big-bore motor …. an 1,103cc in place of the standard 998cc. The compression and valve timing will remain bog-standard Caponord (10.5/1  Inlet timing – 25°BTDC/37°ABDC and Exhaust timing – 57°BBDC/5°ATDC). However to accommodate the increase in air-flow, I’ve decided to use Futura 51mm throttle bodies instead of the Caponord 47mm items.

Meanwhile on top of this chunky aluminium marvel sits a pair of velocity stacks. These stacks vary in height (and diameter) depending on the intended tune of the engine. The RSV Mille of course is designed as a race-rep and as such wants high horsepower at high RPM – hence 57mm throttle bodies and very short velocity stacks. On the other hand the Caponord was tuned for improved low-end grunt and so has small throttle bodies (47mm) and tall velocity stacks to maintain good gas flow speed at low RPM. The Futura seems to sit firmly between the two!

Now of course I could simply use the medium height velocity stacks straight off a Futura, but I decided to go a different route and print a new pair of hybrid stacks – Caponord height BUT 51mm diameter to fit the Futura throttle bodies. Unlike ABS, Colorfabb Ngen (Co-Polyester) can’t be vapour polished with Acetone, so I’ll have to sand the venturi down with a variety of grades of wet-and-dry up to 2,000 grit and maybe finish it off with something like Quixx plastic polish – if it works on this stuff! Here’s a couple of pics comparing the original and new version – straight out of the printer!

Unfortunately 3D parts (unless made on high-end machines) don’t typically have the same strength as injection molded or machined parts – but they do make great ‘proof-of-concept’ parts! If these stacks prove to be a positive step forward, but not durable enough for the working environment, I can at least get the drawings to the machine shop and have them made in aluminium … but that’ll be a tad more expensive than 85p each off the printer! 🙁 

UPDATE

Just had a spare half-hour to rub some 100/400 & 1200 grit paper down one of the stacks and all I can say is – WOW! This material rubs up lovely and probably a couple more sessions will see it through. All the print-ridges have gone and I can’t feel anything but a nice smooth surface that retains a print pattern that makes it look quite distinctive.  🙂

Aprilia Caponord ETV1000 RST1000 Futura Rally-Raid hybrid velocity stack


A little unhinged

The day before the awful January weather hit, I managed to get a nice afternoon ride-out on the Capo. Stopping part way along for a coffee break, I paused for a moment to put helmet and gloves in the top-box – forgetting I had a bungee-cord still attached between the lid and side cases. With my mind wandering away on other things, I flicked the latches and began lifting with finger and thumb. In a heartbeat the cord snatched the lid out of my hand, slamming it hard against the hinge-stops bending the hinges and shearing two rivets. Oh well, after 10 years I guess it could do with a bit of TLC, now it definitely needs it!

Aprilia Caponord ETV1000 Rally-Raid Hepco Becker top box 3D printed spacersA couple of weeks later, after the snow had finished having its wicked way, I managed to get around to doing a complete strip of the top-box in an uncomfortably cold and damp barn, first straightening the hinges then rebuilding it all with new 4mm stainless steel rivets instead of the feeble aluminium 3mm ones. While I had it stripped down I remembered that I’d had a little 3D printer idea regarding the top-box and now was the perfect time to do it.

Aprilia Caponord ETV1000 Hepco Becker 45L top box alignment spacersSomething that’s always bugged me with the Hepco-Becker top-box is the lateral play in the mount which allows the box to be fitted off-center – around a half-inch or more (>12.5mm) either way. To take this slop out two plastic blocks modelled on the shape of the existing mount have been added using the same size self-tapping screws as on the main support. These blocks don’t take any load, that’s still handled 100% by the original support, their only job is to ensure the box lines up perfectly every time it’s refitted ….. no bumping, shuffling or tweaking it into place, and this most certainly pleases my mild OCD!

Aprilia Caponord ETV1000 Rally-Raid Hepco Becker top box support plateWhile doing all this, the bottom galvanised steel support plate was measured and a larger improved design drawn up. The original 1.5mm thick plate has too much flex for my liking (built to a budget) so the idea is to fit a slightly thicker 2mm stainless steel one for improved support, looks and weather resistance. After all this, the top-box should be good for another 10 years + …….as long as I don’t screw up the hinges again that is! 😀

Aprilia Caponord ETV1000 Rally-Raid 3D printed speedo sensor Honeywell 1GP7001And finally, the January backlog of post and parcels are starting to trickle through and with the first batch came the 8mm OD stainless steel sleeves and a couple of Honeywell 1GP7001 speed sensors. So the sensor and case are now assembled and tested. Only the cable strain relief sleeve is missing before I can fit it permanently to the bike. Fingers crossed they’ll be in the next batch of post!

More bunged up …… or spoke too soon!

Aprilia Caponord ETV1000 Rally-Raid spare spokes in the front wheel spindle - AP8108784, AP8108787, AP8108805I’ve been carrying six spare spokes around in the front wheel spindle for years ….. however the whole thing was a bit of a mash-up and not worthy of a post on here unless I desperately wanted some serious ridicule. Until now that is! Out with the hand-cut foam and insulating tape and in with the nice new 3D printed parts – two spacers to hold the spokes all nice and even and two new symmetrical end caps. All this held together with a length of 8mm aluminium tube, two ‘O’ rings and two M6 stainless fasteners topped off with a pair of decorative washers I had left over from my old Honda Blackbird days. All works pretty well, even if I say so myself! 😀 

Feeling a little bunged up

The Capo now has 3D printed bungs in the swing arm pivot and the ends of the crash-bar mounts. They’re held in by 43-39-2, 14-10-2 and BS011 ‘O’-rings. And yes, the BS011 rings are the very same as those used on the fuel lines. So one day if the old girl springs a leak and needs a new fuel line ‘O’-ring by the roadside – no problem, whip out a crash-bar bung and pinch the ring!  Next ….. front and rear axles then the engine mounts above the swing-arm pivot .

Print me a Capo ……

Yesterday, on a rather cold and wet afternoon, moto-abruzzo took a step into the future ……. courtesy of a good friend that I’m doing a project for. A 3D printer arrived! And being the top man that he is, he’s cool about me printing off those odd little Caponord bits-n-bobs.

It was rapidly unpacked and Jan and I stood in awe at this little box of awesomeness, we oooo’d and aaaah’d in all the right places …. then it was time to fire the beast up. But first a good nights rest. Early the next morning I loaded up a model and hit the ‘MAKE!’ button. My heart pounded as it hummed, rumbled and whired into action. For an hour it beavered away – then stopped dead! In fact everything stopped – ANOTHER BLOODY POWER CUT! So on with the coat and off to buy a UPS (Uninterruptible Power Supply) to keep computers and printers running when we get these annoying micro/mini power cuts that last no more than a second or two but mess everything up. Once installed I was away like a whippet on speed ……. by the end of the evening we Aprilia Caponord ETV1000 Rally-Raid 3D printed speedometer sensor case AP8124985stood and marvelled at its first creation – A Mk1 speedo sensor case.

 Like any piece of kit it has a bit of a learning curve attached to it, but hey, that’s all part of the fun. Here’s a pic of the first printed Capo speedo sensor main case and cap. The holes print really well even at this resolution and tap to M3 no problem. The sensor is a nice snug fit and (thankfully!) it fits in the brake caliper carrier and even the bolt lines up which is nice! So overall – moving in the right direction. Now I just need to order a couple of sensors, some cable, rubber boots and Molex connectors and the jobs as good as done. Then I can change out the sensor on the bike, run it around for a while and see how the printed parts hold up to life on a motorcycle.

Why bother with all this?

Have a look at the cost of a replacement sensor from Aprilia (AP8124985) ….. currently £112 plus postage from Fowlers and Ultimateparts in the UK and €146 (approx. £127) from wendelmotorraeder in Germany. OK it’s much cheaper from AF1 at £65 but the postage is higher and you may well have customs duty to pay – all bumping up the cost.

So …….. IF (a big ‘IF’ mind you) it tests OK over a couple of months and possibly a small batch were to be made, would anyone be interested in an aftermarket Capo speedo sensor for half the price of an original?

Anyway, until then what’s next ……. hmmmm.

  • Hybrid velocity stacks – Caponord height with Futura diameter (51mm)
  • Hi-Flo airbox snorkel
  • Frame/axle/crash bar bungs (insects use the orifices as nesting sites!)
  •  ……. and maybe even a 1:5 scale model!! 😀 


CGI dashboard – 2

Saturdays lovely sunny weather gave way to thick fog and a definite chill in the air – time then to hunker down on the PC and finish the CGI dashboard and add a couple of extra bits to make it a touch more interesting on the eye.

Slowly, slowly ……

Aprilia Caponord ETV1000 Rally-Raid frame / chassis in Solidworks 3DWith the weather hitting an unseasonaly warm 20c (but high winds!) it’s been a fine opportunity for running around on the Capo, but when she’s all tucked up nice and cosy in the barn, it’s been time to work on the stable-mate, NK03 …… or more specifically the chassis! Slowly but surely it’s being measured and drawn up in CAD and some other parts drawn up last year added into the mix. One day a complete digital Capo will exist! 😀

Refering back to the weather …….. here’s a couple of pics taken on the mobile at the end of the day when walking the dog. As the sun sets behind the Gran Sasso mountains it seems to save the best lighting until last.

Gran Sasso sunset January 2016Gran Sasso sunset January 2016


Sprocket to me daddy-o

Aprilia Caponord ETV1000 Rally-Raid front sprocket stress analysis

April 2020 – sadly Aurasma was bought out by HP (Hewlett Packard) who have now closed down the whole thing.

Once again I’ve been playing ….. this time with Aurasma. No sniggering at the back!

Another augmented-reality app that does video and 3D, admittedly the 3D isn’t as good as Augmented in some ways, but in others it has definite potential. For this little magic show, you’ll need to download the app (Android) to your phone and (on your PC) go to the website and open a free account. Then open the app and tap on the white triangle in the bottom/middle of the screen, now tap on the search (magnifying glass) and search for ‘moto-abruzzo’ then on the next screen tap on ‘follow’ in the top right hand of the screen …… and your done!

Now click on the sprocket above to open a larger version on your screen, point your phone’s camera at it and watch Aurasma do its stuff! Impressive eh? 😀 A basic model of a Sunstar 16 tooth front sprocket animated around two axes. Unlike Augmented which is VERY expensive after your 14 day intro, Aurasma is free (for now) – and we all like freebies. I think I’ll start porting my CAD/3D library of Capo parts over in the New Year and see how it goes. 😉

If you gave it a go, please leave a comment. Any feedback thoughts or ideas on how best to use this with reference to our beloved Caponords is always welcome.

Have fun!