 With plans a-foot to assemble a big-cc motor for the Capo, it was time to cast an inquisitive eye over the airbox snorkel, that ugly rubber protrusion at the front of the airbox, sucking in hot air from on top of the radiator. This one object has been debated far and wide over the years – keep it, or remove it? Yes the questionable snorkelectomy!
Only a couple of ways to find out I guess. Dyno the bike with and without it or draw it up and run a flow analysis on it from the comfort of an armchair. Armchair it is then! With the model  complete, here’s a couple of basic facts: Snorkel Inlet area (total) 1,750mm² and outlet area (total) 3,050mm². So the inlet is slightly restricted, the offending area is highlighted in the picture (click to enlarge). In fact, if the restriction were removed, the snorkel would have an inlet nearer to 2,400mm² – about 37% more!
To keep it simple the analysis was run with air at 1013mb and 20C, both with AND without the  restriction in place and at RPM’s ranging from 1,300 to 10,250 – well above Caponord max RPM of 8,750.
I think it’s reasonable to say that the OEM snorkel doesn’t really do badly until it hits 9,000RPM+ and lets face it, by then the whole thing is over for the poor old Capo anyway! Based on a days digital twiddling and some airbox datalogging several years ago, I have to say that I’m planting my flag firmly in the ‘leave it alone’ camp when it comes to the OEM Capo snorkel. It isn’t and never will be an RSV so why try to make it like one ….. the standard bits are designed to work well enough together for the style of bike it is. Yes of course remapping will improve things no end, but why screw up the ride by making it noisier and offering the local mice a HUGE entrance through which to set up an epic knocking shop on  the air filter!
But what about the big-cc conversion? well running the analysis with the 1,103cc and 1,127cc flow certainly seemed to cast doubt on the suitability of the OEM snorkel as the strong pressure drop is now occurring lower down the rev range. So the snorkel design originally drawn up back in October 2012 was dug out of hibernation, modified and polished up for 3D printing and run through the flow software – the green line on the graph above. Overall it seems to offer a cleaner flow, less pressure drop and maintains a similar airflow velocity into the airbox. Unfortunately the one thing the software can’t tell me is how much extra  noise will be generated! The OEM snorkel is made of PVCD (flexible) AND has a foam pad in the roof of each inlet – both presumably are to reduce inlet noise.
With everything looking OK a few test parts were printed to make sure it’s going to fit, then the model was split into two along the mounting plate and both parts printed separately. This was due both to size limitations in the printer and because I didn’t want to use any support material to upset the surface finish. Afterwards both parts were bonded together and the inlet tracts rubbed down with 80/180/400/1200 grit sandpaper to get a reasonable finish.
 With a bead of sealant and 4x M4x12 and 4x M5x12 screws and nyloc-nuts, the snorkel fits into place just fine. Of course only time will tell how well it stands up to the rigours of its new home! The OEM snorkel has a rubber/foam acoustic panel (AP8117151) that fits over it and of course it won’t fit the new one, so I’ve trimmed this one to suit(ish) and placed an order for a similar dual-material sound deadening product to make a new one specifically for this snorkel. However the chopped-about old panel can’t be far off the ball park, as inlet noise just wasn’t noticeable which was a pleasant surprise …… It could well be a different story from the saddle though! 🙄
So what next? Well the plan is to get a day on a dyno when the weather is more amenable. I’d like to run it as standard, standard + new snorkel and Futura throttle bodies, new velocity stacks and new snorkel and see what the numbers say. Any guesses?
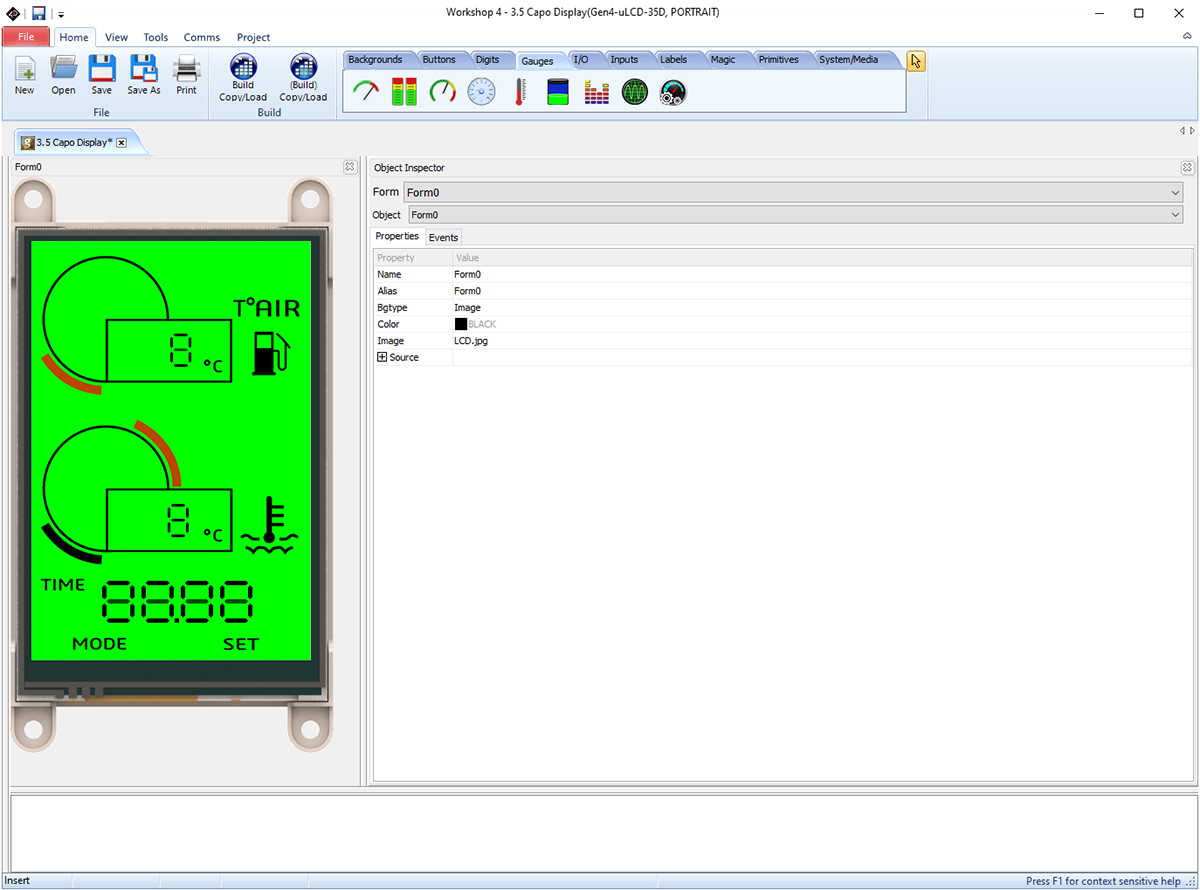 More years ago that I care to remember, fellow Caponord owner (Beasthonda) and I discussed the idea of replacing the dashboard LCD panel with an LCD screen that could be made to display just about anything we wanted. At the time, we looked at 4D Systems and made a few notes on feasibility, but in the end the idea fizzled out – primarily because at that time the panels were expensive!
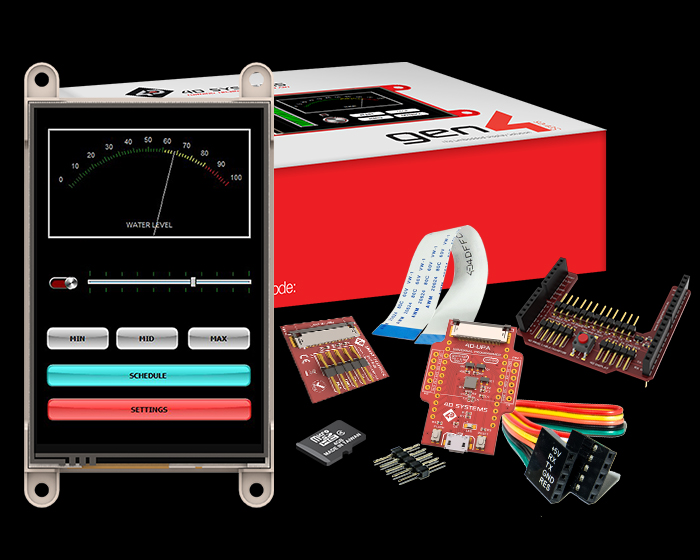 Well here we are, a toe-dip into 2020 and the idea has been resurrected. This in part is due to the panels being better and cheaper now as well as the Arduino boards being much more powerful and faster than the old generation. So as I write, winging it’s way from Australia is an SK-ULCD-35D-AR kit …. basically a 3.5″ non-touch sensitive screen with all the cables and bits to program and connect it to an Arduino device.


 I finally got around to finishing off the new closure panel (AP8168916) and seat/tank heatshield (AP8117201 – now unavailable) using the 2mm rubber sheet I bought a few months ago. A single 500mm x 500mm piece is enough to make one each of the panels at a cost of about £4 per panel. Compare that to the list price of Aprilia replacements – £15.58 & £22.48 each PLUS VAT!


